Camio offers a version of Camio Box made to run inside of the VMWare suite of consumer products. While this image was created with VMWare Workstation Pro, it is compatible with the following line of VMWare virtualization products:
- Fusion 11.X
- Fusion 10.X
- Workstation 14.X
- Workstation 15.X
If you are attempting to set up a Camio Box VM in the enterprise-grade VMWare ESXi/vSphere suite we recommend you follow these instructions instead.
What you need
- VMWare Workstation (version 10+)
- Camio Box VMWare Workstation Appliance Image.
- A computer that can run VMWare Workstation Pro/Player with the following hardware specs
- At least 64GB of disk space is required for the VM disk image.
- 4GB of RAM is recommended for the Virtual Machine.
To start, you'll either need the VMWare Workstation Pro or VMWare Workstation Player software installed on your computer. Workstation is not free, but they do offer a 30-day free trial for non-corporate uses. Player is free but has a more limited set of features.
1. Install VMWare Workstation
- Go to this link: http://www.vmware.com/products/workstation/workstation-evaluation.html
- Download the version of Workstation that is compatible with your computer.
- Follow the steps listed on the downloads page to install VMWare Workstation onto your computer.
2. Download the Camio Box VMWare Appliance
- Download the camio-box-os-vmware_workstation-2020-06-14.zip file.
- Unzip the downloaded file to extract the
camio-box-os-vmware_workstation-2020-06-14.ovafile. OVA files are Virtual-Machine Appliance files that contain an image of a virtual machine that can loaded into any VMWare Workstation environment.
3. Get a MAC address for your Virtual Camio Box
Copy the MAC address shown on this page:
https://camio.com/box/register/box_vm_mac
Note: If you're running multiple Virtual Machines, then you can get additional MAC addresses by appending a number at the end of the URL above (e.g. https://camio.com/box/register/box_vm_mac2).
4. Create the Camio Box Virtual Machine
- Open VMWare Workstation
- Go to 'File' > 'Open'
- Select the
camio-box-os-vmware_workstation-2020-06-14.ovafile that you have previously unzipped.
- Import the virtual machine

5. Set the MAC address and Networking for your VM
- Go to 'VM' > 'Settings' from your Camio Box VM tab in Workstation.
- Select the 'Network Adapter' option, make sure that 'Bridged Networking' is selected.
- Click the 'Advanced' option, and enter your MAC address copied from the previous step in the 'MAC Address' field
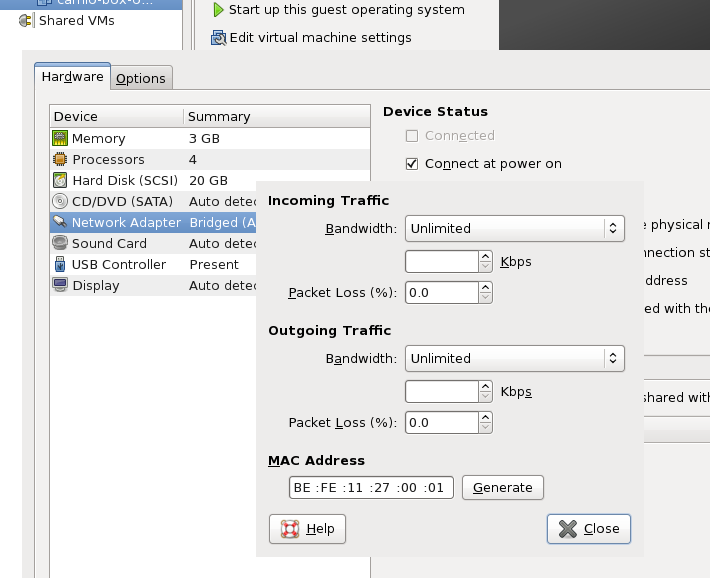
- Close the 'Advanced' dialog and save your changes
- NOTE - For Windows users, you may need to follow these additional instructions to enable bridged networking: https://www.youtube.com/
watch?v=AsSDXznIhGc
6. Start your Camio Box Virtual Machine
Click the Green-arrow at the top of the window to start your VM. Once the virtual machine is finished booting, it's ready to be registered to your Camio account.
Important: the login credentials for the VM are not public and are not needed. From this point on you will control your Camio Box VM through the Camio website (https://camio.com/boxes).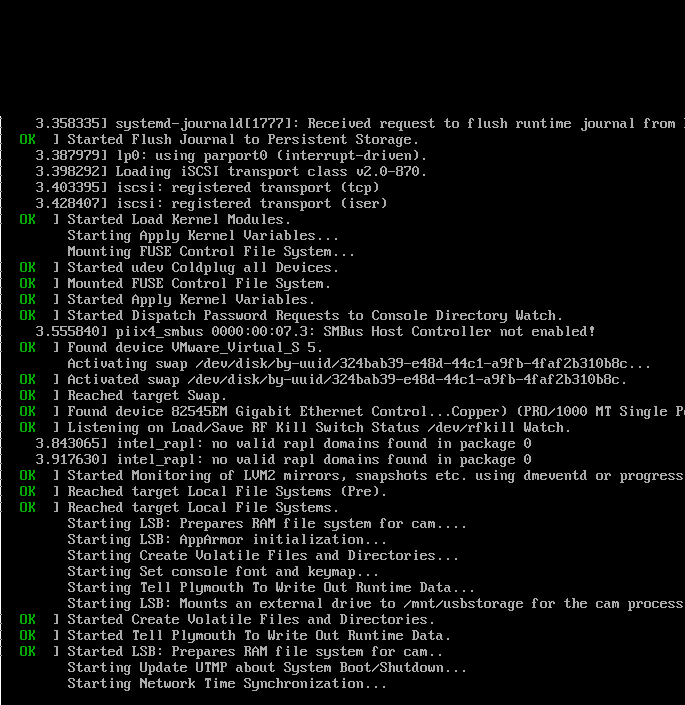
7. Register your Camio Box:
- Go to camio.com/box/register/box_vm_mac
- Enter a name for your Box.
- Click 'Register' and wait for confirmation of registration success to appear on that page. It should register within 30 seconds.
Congratulations! You have now registered your virtual Camio Box. Go to the camio.com/boxes page to connect cameras on your network to your Camio account.
8. (Recommended) Set Your VM to Use "Disk" Storage
It is recommended, in nearly all cases, that you configure your Camio Box VM to use "disk" storage instead of the default "volatile". Follow the simple steps in this help article to do that.
Advanced:
You can of course customize the amount of resources dedicated to your Camio Box virtual machine. For more information see this help article : How do I tune my Camio Box VM to match the number of connected video streams?.
Why is My Machine Not Registering?
- Double check that you have set the MAC address for your VM correctly. You should have set the MAC address for your VM according to the steps covered in step #5 above and you will be registering the device with that same MAC address.
- Check and see if the VM can be found on your local network. To do this you can use any available network scanning tool like nmap or the Fing application. If the VM is powered on but you do not see it on the local network, you have likely misconfigured the bridged-networking for the device. Review
Comments