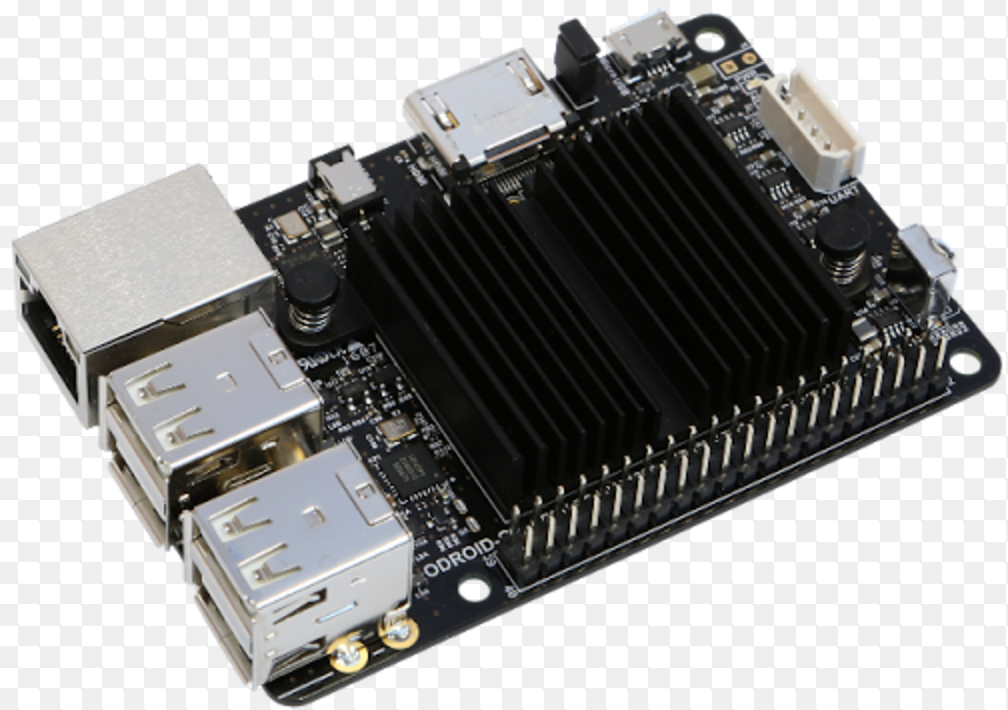
Yes! Using the disk images provided by Camio, you can turn your existing Odroid ARM device into a working Camio Box.

Items needed:
- ARM-based Odroid Device (C1, C2, C4, XU4)
- Blank SD card (32GB minimum): IMPORTANT - will not work with cards smaller than 32GB
- Computer with an SD card reader.
Getting the OS-image onto your Odroid:
- Download the compressed .iso file from here for a C2, or here for a C4.
unzip camio-box-os-odroidc2-2019-01-02.zip
This will extract the camio-box-os-odroidc2-2019-01-02.zip file to your current location.- Insert into your computer the SD card you wish to use.
- Identify the name of your SD card.
- OSX :
About This Mac > System Report > USB > USB 3.0 Bus >Card Reader, then read theBSD nameof the top level Card Reader (not the Volumes). The name should be something like/dev/disk7. - Windows : Open Windows Explorer, and look down the column on the left to locate the drive identifier (such as :G).
- OSX :
- Burn the OS image onto the SD card.
- OSX :
- Open up your terminal.
- Double check you have the correct name of the SD card (IMPORTANT: the following command will completely overwrite the disk that is named, so ensure that you have the name right) You can see the list of disks by using this command:
- OSX :
$ df -h
-
-
- Run the following command in your shell after replacing
/dev/diskXwith the path to your SD card:sudo dd bs=1m if=camio-box-os-odroidc2-2019-01-02.iso of=/dev/diskX- Note that if you get Permission Denied when using sudo, your SD card might have a physical write-protect switch that needs to be turned off.
- Wait for this command to finish, it should take anywhere from 5-15 minutes to complete. When it is done you will see an output resembling:
2176+0 records in
2176+0 records out
1114112 bytes transferred in 0.013963 secs (79790394 bytes/sec) - Eject and remove the SD card from your computer.
- Run the following command in your shell after replacing
- Windows :
- Download the Win32DiskImager utility from the Sourceforge Project page as a zip file; you can run this from a USB drive.
- Extract the executable from the zip file and run it (may need to be ran as administrator).
- From Win32DiskImager, select the camio-box-os-odroidc2-2016-09-11.iso file and the drive identifier of your SD card. Ensure your information is correct, and click on 'Write'. This will write the .iso file to your SD card.
- Exit the program and eject the SD card.
-
Getting your Box setup and configured
- Insert the SD card into your Odroid, then connect the Odroid to a power source and let it boot-up.
- Navigate to https://camio.com/box/register and follow the instructions from there on how to use a QR-code from our site with the PiCamera on the box to register the device.
Comments