The following guide describes the full setup for a Camio gateway on Kubernetes, including the following:
- Creating a Kubernetes Cluster, with instructions for MicroK8s and GKE
- Installing Helm
- Gateway Configuration and Installation with Helm
- Gateway Resource/Storage Usage
Creating a Kubernetes Cluster
!! This step can be disregarded if you already have an existing cluster you would like to use. Do make sure you have access to your cluster through kubectl if so.
You will need a Kubernetes cluster set up to deploy the gateway to. Below are instructions for setting up a Kubernetes cluster locally in MicroK8s and in the cloud using Google Kubernetes Engine (GKE), as well as instructions for configuring your cluster with kubectl, allowing you to interface with the cluster.
MicroK8s
This is a link to MicroK8s setup instructions. The Linux installation instructions will be abbreviated below, non-Linux instructions can be found here.
- Install Microk8s on Linux through the sudo command below.
sudo snap install microk8s --classic --channel=1.24 - Join the user group that MicroK8s creates in order to use MicroK8s with proper privileges using the commands below.
sudo usermod -a -G microk8s $USER
sudo chown -f -R $USER ~/.kube
su - $USER - Add the required add-ons to MicroK8s with the command below.
sudo microk8s enable dns helm3
This will set up a single node MicroK8s cluster, with it’s own built-in version of kubectl to access your cluster.
Important note
When using kubectl through MicroK8s, all "kubectl" commands will need to prepended with "microk8s", like so:
microk8s kubectl get node
For ease of use, you may want to make a shorter alias for your "microK8s kubectl" commands and add it to your bash profile. The following will let you use "mkctl" to run "microk8s kubectl" commands:
echo 'alias mkctl="sudo microk8s kubectl"' >> ~/.bash_profile && source ~/.bash_profile
Like so:
mkctl get node
Google Kubernetes Engine (GKE)
This is a link to GKE’s documentation and instructions for cluster creation.
Once you have created your cluster, you will also want to add your GKE cluster to your kubectl configuration.
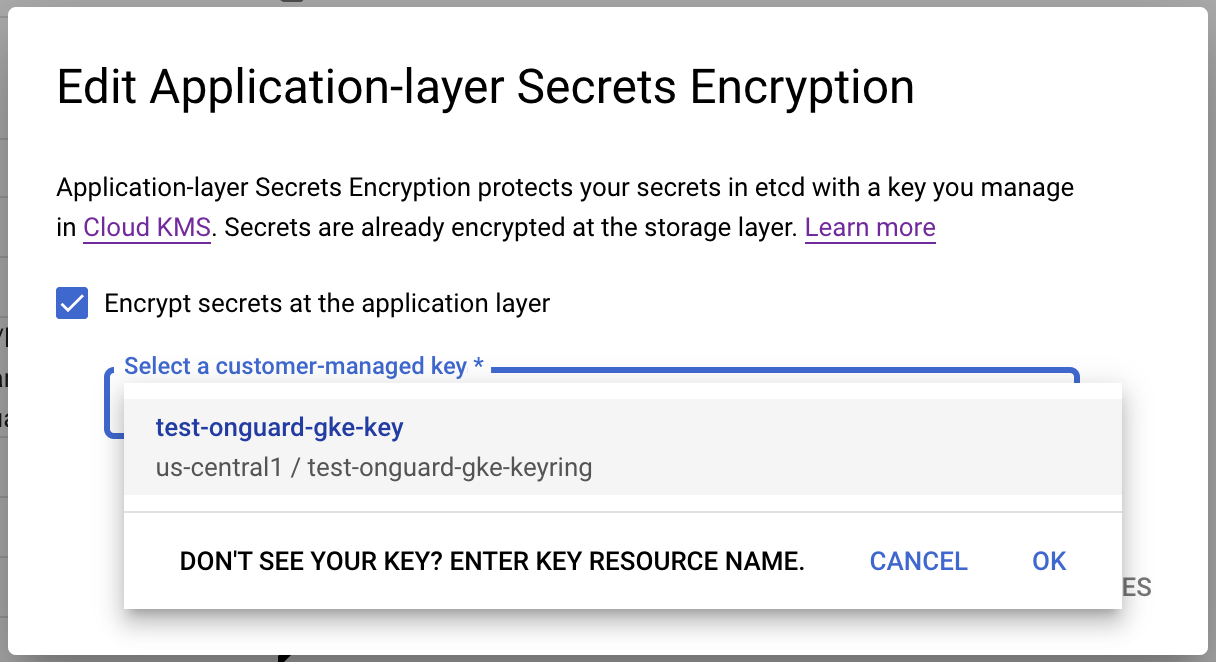
You may want to consider adding secrets encryption to your cluster, with instructions for such provided below.
(Optional) Add Secrets Encryption to your GKE cluster using Cloud KMS
!! This step can be disregarded if not using GCP GKE and Cloud KMS.
Application-Layer Secrets Encryption can be enabled on any cluster, provided a Cloud KMS key to use for the encryption.
The full instructions for this process can be found in GCP’s documentation here. They have been abbreviated below:
- Create/Ready a key to use for encryption in Cloud KMS. You will need to create a keyring to create this key on if you do not already have one.
- If you choose to rotate this key, whether automatically or manually, you will need to set up something similar to a CronJob to re-encrypt the secrets in your cluster with the newly rotated key, that runs a command like this:
-
kubectl get secrets --all-namespaces -o json | kubectl annotate \
--overwrite -f - encryption-key-rotation-time="TIME-OF-ROTATION" - This command will simply touch all secrets files, which will automatically re-encrypt the files with the newly rotated key.
- If you choose to rotate this key, whether automatically or manually, you will need to set up something similar to a CronJob to re-encrypt the secrets in your cluster with the newly rotated key, that runs a command like this:
- Create a cluster, or modify an existing cluster, to enable application-layer encryption (in the Security section of the cluster configurations), and choose the designated key you want to use for this encryption.
Installing Helm
!! This step can be disregarded if you already have Helm installed on the device you are using to interface with the cluster.
Helm is a tool for easily installing, upgrading, and managing complex K8s applications. We package our Kubernetes gateway applications using Helm for easy deployment and user configuration. You will need to install Helm, on the same device you are interfacing with the cluster through, in order to access and install our gateway Helm packages to your cluster.
If you are not using MicroK8s for your cluster, you can follow the official Helm website's installation instructions. They provide a variety of ways for installing Helm, including through common package managers.
MicroK8s
To use Helm with MicroK8s, enable the Helm add-on along with the DNS add-on with the following command, if you haven't already:
microk8s enable helm3 dns
This will install Helm and enable Helm and DNS capabilities for your cluster.
Important Note
When using Helm through MicroK8s, all "helm" commands will need to be run with "microk8s helm3", like so:
microk8s helm3 version
For ease of use, you may want to make a shorter alias for your "microk8s helm3" commands and add it to your bash profile. The following will let you use "mhelm" to run "microk8s helm3" commands:
echo 'alias mhelm="sudo microk8s helm3"' >> ~/.bash_profile && source ~/.bash_profile
Like so:
mhelm version
Gateway Configuration and Installation with Helm
Once your cluster is set up and you have Helm installed, you are ready to install the K8s gateway.
Before We Begin
Kubectl Access to Your Cluster
Helm uses kubectl to interact with your cluster and install deployments. Thus, you will want to make sure you have access to your cluster through kubectl. You can check and set the appropriate cluster and context using the "kubectl config" command.
kubectl config current-context
|
Displays the current-context |
kubectl config get-clusters
|
Display clusters defined in the kubeconfig |
kubectl config get-contexts
|
Describe one or many contexts |
kubectl config use-context
|
Sets the current-context in a kubeconfig file |
Enable OCI for Helm < 3.8
Our Helm charts are stored as packages in a repository on Google Cloud Platform’s Artifact Registry. As they currently don’t have support for HTTPS repository URLs, if you are using a version of Helm below 3.8, set the following environment variable to enable Helm use with OCI like so:
export HELM_EXPERIMENTAL_OCI=1
To check what version of Helm you have, run the following command:
helm version
The Helm version will be located under "Version" in "version.BuildInfo" like so:
version.BuildInfo{Version:"v3.9.4", ...}
Package URL
For any Helm command requesting the package, the public URL for the package will be as follows:
oci://us-central1-docker.pkg.dev/camiologger/helm/{{camio-gateway}}
Here’s an example of our OnGuard Helm chart
oci://us-central1-docker.pkg.dev/camiologger/helm/camio-onguard
The gateway repository name will match the name of the Docker Compose version of the gateway deployment.
Release Name
For any Helm command requesting a release-name: A Release is the instance of a chart running in a Kubernetes cluster. The Release name is a unique name of your choice for the provided instance of a chart. This exists to differentiate between different instances of the same chart running on a cluster.
An example of what a Release name for a Camio OnGuard gateway could be:
camio-onguard-01
Accessing the Default Gateway Configurations
With Helm, you can view the default configurations of a package, and customize the configurations of your installation easily using the Values file.
Values files are plain YAML files containing nested key-value pairs that Helm uses to set configurations in a deployment. A Helm package will include a Values file containing the default configuration values of the deployment, that is used when the package is plainly installed.
You can thus use this file as a reference of what key-value pairs of configurations are modifiable for your gateway deployment. You can even directly modify this file and pass it to your gateway deployment to set custom configurations for it, which will be explained in further detail later.
To retrieve the default values of a package, run the following command to save the default configurations locally as a YAML for easy viewing and editing:
helm show values {{package}} > {{path/to/your/values.yaml}}
For example:
helm show values \
 oci://us-central1-docker.pkg.dev/camiologger/helm/camio-onguard \
 > /tmp/camio-onguard-values.yaml
Here's an example snippet of what that default Values file would look like:
onguard:
  user:
    directory_id: "id-1"
    user_name: "INSERT USERNAME HERE"
    password: "INSERT PASSWORD HERE"
  config:
    server_name: "INSERT SERVER NAME HERE"
Modifying and Applying Configurations
You can then add your configurations to the gateway deployment, through either or both of two options:
- Modifying the Values file and passing it to the deployment through the file ("-f") flag
- Passing modified key-value pairs to the deployment directly through the command line using the set ("--set") flag.
The examples in the following sections use the "helm install" command, for installing a new gateway deployment, but can also be used with the "helm upgrade" command in the exact same way, to update the configurations of an already existing deployment, with an example usage of this in the final section.
Modifying and Applying Configurations Using the Values File
The following is the most convenient and user-intuitive method for modifying configurations for a deployment, but requires saving your configurations to a file locally before applying them to your deployment. This file can be saved in a temporary place and deleted upon use if needed.
Modify the default configurations in the Values YAML file that you previously downloaded with the configurations you desire, and pass the file to the installation command like so.
helm install {{release-name}} {{package}} -f {{path/to/your/values.yaml}}
For example:
helm install camio-onguard01 \
 oci://us-central1-docker.pkg.dev/camiologger/helm/camio-onguard \
 -f /tmp/camio-onguard-values.yaml
Setting Configurations Directly Through the Command Line
The following method allows you to set configurations without storing them in a Values file locally, but is less intuitive, and tedious for use with too many configurations. It is thus recommended to only use this when setting values you would like to keep secure by not saving into a local Values file.
Pass the key-value pairs of the configurations you would like to change directly into the installation command like so:
helm install {{release-name}} {{package}} --set key=value,nested.key=value,...
An example with our OnGuard gateway Helm Chart would be:
helm install camio-onguard01 \
 oci://us-central1-docker.pkg.dev/camiologger/helm/camio-onguard \
 --set onguard.user.user_name="MYUSER",onguard.user.password="MYPASS"
Using Both Options Simultaneously
Both options can be used simultaneously, with values set by the "--set" flag having priority over values set by the "-f" flag.
Here’s how you use both options simultaneously:
helm install {{release-name}} {{package}} -f {{path/to/your/values.yaml}} \
 --set key=value,key=value,...
And here's an example combining the previous OnGuard gateway Helm Chart examples:
helm install camio-onguard01 \
 oci://us-central1-docker.pkg.dev/camiologger/helm/camio-onguard \
 --set onguard.user.user_name="MYUSER",onguard.user.password="MYPASS" \
 -f /tmp/camio-onguard-values.yaml
The username and password assigned by the "--set" flag will be used, ignoring the username and password provided in the Values file from the "-f" flag. All other configurations from the provided Values file will still be used.
Updating Gateway Configurations
Configuration updates can be applied to a running deployment in the same manner to installation, by using the "helm upgrade" command instead of the "helm install" command, and adding the desired updated configurations through the file or set flags. The following example is a variation on the previous example of setting configurations, that will update the existing deployment by the name "camio-onguard01" with the modified configurations passed to the command, instead of creating a new deployment.
helm upgrade camio-onguard01 \
oci://us-central1-docker.pkg.dev/camiologger/helm/camio-onguard \
 --set onguard.user.user_name="MYNEWUSER",onguard.user.password="MYNEWPASS" \
-f /tmp/camio-onguard-values.yaml
Gateway Resource/Storage Usage
The CPU and RAM required of the host machine that runs the Camio Gateway Kubernetes Deployment varies with the maximum throughput of access control events. This guide covers common volumes:
|
Max Event Rate |
CPU Cores |
RAM |
|
100 events/second |
1 |
300 MiB |
|
1,000 events/second |
2 |
400 MiB |
|
10,000 events/second |
2 |
400 MiB |
You can find more details for a given PAC in its corresponding user guide, linked in the following section, under the header Setup > Camio Gateway Host Hardware Requirements.
As for storage, we recommend allocating 10 GB of storage for the installation as a safe amount, though you may want to adjust this depending on your minimum and maximum event rates as well.
Further Gateway Usage
For further information on configuring and using the deployed gateway(s), you can refer the corresponding user guide for your PACS:
- Camio User Guide for OnGuard: Tailgating detection and real-time video search
- Camio User Guide for C-Cure: tailgating detection and real-time video search
- Camio User Guide for AMAG: tailgating detection and real-time video search
Further Helm Usage
For further details on usage of Helm and interacting with your deployment through Helm, Helm's documentation can be found here.
Comments